

Jennifer L.
Founder & Designer at Lunis

1. Build section by section, not full pages
The most common beginner mistake is asking the Agent to generate an entire page in one prompt. The output is usually generic and hard to control. Instead, start with a single section (hero, features, pricing) and refine it before moving on.
Once a section is created, select it on the canvas before sending your next prompt. This tells the Agent to focus only on that area rather than touching the entire page.
2. Structure your prompts with context first, then specifics
Vague prompts produce vague results. A good prompt follows a simple framework:
Context: what your product is and who it's for
Structure: what elements the section should include
Style: colors, typography, spacing, mood
For example, instead of "create a carousel", I write:
Create an infinite carousel component for Work CMS.
Active state: the centered item is the active card. On load, it should default to the first item marked "Featured." Set its width to 40% of the total carousel width.
Inactive states: show two other featured items on each side of the active card, left and right. Inactive cards display the Thumbnail only. Rotate the right card 30 degrees and the left card -30 degrees. Their width should fill the remaining space in the carousel evenly.
Controls: add options for autoplay, draggable, infinite looping, and adjustable gap between items.
The more decisions you make upfront, the fewer revision rounds you'll need.
3. Use @ mentions to reference your existing styles
Type @ in the Agent chat to reference your existing text styles, color variables, CMS collections, or specific pages. This is one of the most underused features for beginners.
When you reference your styles directly, the Agent uses what you've already defined rather than inventing new fonts and colors. This keeps your entire site visually consistent without having to fix every section manually after generation.
4. Select elements as context before prompting
Before asking the Agent to modify something, select the specific layer or frame on the canvas and add it to the chat. This gives the Agent visual context about exactly what you're working with.
Without this step, the Agent often guesses which part of the page you're referring to and may change things you didn't intend. Selecting context is especially important when you're refining details like spacing, alignment, or a specific component.
5. Attach reference images
The Agent accepts any image as a reference: screenshots, wireframes, exported mockups, or even hand-drawn sketches. This is far more effective than describing a layout in words alone.
A few practical ways to use this:
Screenshot to show the general structure you're after
Drop in a UI shot as a style reference
6. One task per chat
Start a fresh chat for each distinct task. An Agent carrying context from ten different instructions tends to make ten kinds of mistakes. Keeping chats focused means:
One chat for building your hero section
A separate chat for setting up CMS collections
Another for the responsive pass
This also makes it easier to revert if something goes wrong, since each prompt has its own rollback point.
7. Hand it the boring stuff first
The Agent is at its best when the task is tedious and repetitive. Before spending credits on creative generation, use the Agent for the work you'd normally avoid:
Create components: turn your existing element into a reusable component with variables
Style cleanup: find text and color layers not linked to a style
Accessibility check: flag missing tags, broken links
Copy consistency: find overused words or inconsistent tone across pages
Here's a real example I commonly use to create components:
Create component variables for @[component].
Every text and image field should have its own variable. For all text fields, set text area to yes.
These are all tasks where AI is genuinely faster and the risk of a bad output is low.
8. Use the Agent for CMS setup and content
CMS is one of the areas where the Agent saves the most time. Instead of manually creating collections, adding fields, and wiring content to pages, you can prompt the Agent to handle all of it:
Create CMS collections with the right field types
Wire collection fields to design elements on the canvas
Batch-edit entries (update slugs, rewrite descriptions, add tags)
Set up reference fields between related collections
If you have blog posts, case studies, or team profiles to add, describe the content structure and let the Agent build it. This alone can save hours of manual clicking.
9. Work on branches
Branches let you experiment without risking your live site. Before asking the Agent to make any large change, create a branch first.
This is especially important for beginners because:
You can let the Agent make bold changes and review them safely
If the result isn't right, you simply discard the branch
You can compare the branch to your main project before merging
Every Agent prompt within a branch has its own rollback point
Think of branches as a safety net. They remove the fear of "what if the AI breaks something" entirely.
10. Start from a template, let the Agent customize
This is the single biggest time and credit saver most beginners overlook.
You might wonder: if AI can build a site, why bother with a template at all?
A few reasons: Generating a full site from scratch can easily cost 500+ credits and 5 hours of back-and-forth prompting to get something that still doesn't feel quite right. A template gives you professional structure, responsive layouts, and conversion-tested section flow out of the box. You skip all the prompting it takes to get those foundations right.
From there, use the Agent to make it yours:
Swap the color palette to match your brand
Update typography across the site
Rewrite placeholder copy to match your product and tone
Generate responsive breakpoints if needed
Adjust layouts and spacing to fit your content
Instead of spending credits building structure, you spend them on the customization that actually matters. The template handles the hard design decisions. The Agent handles the repetitive changes. You focus on creative direction.
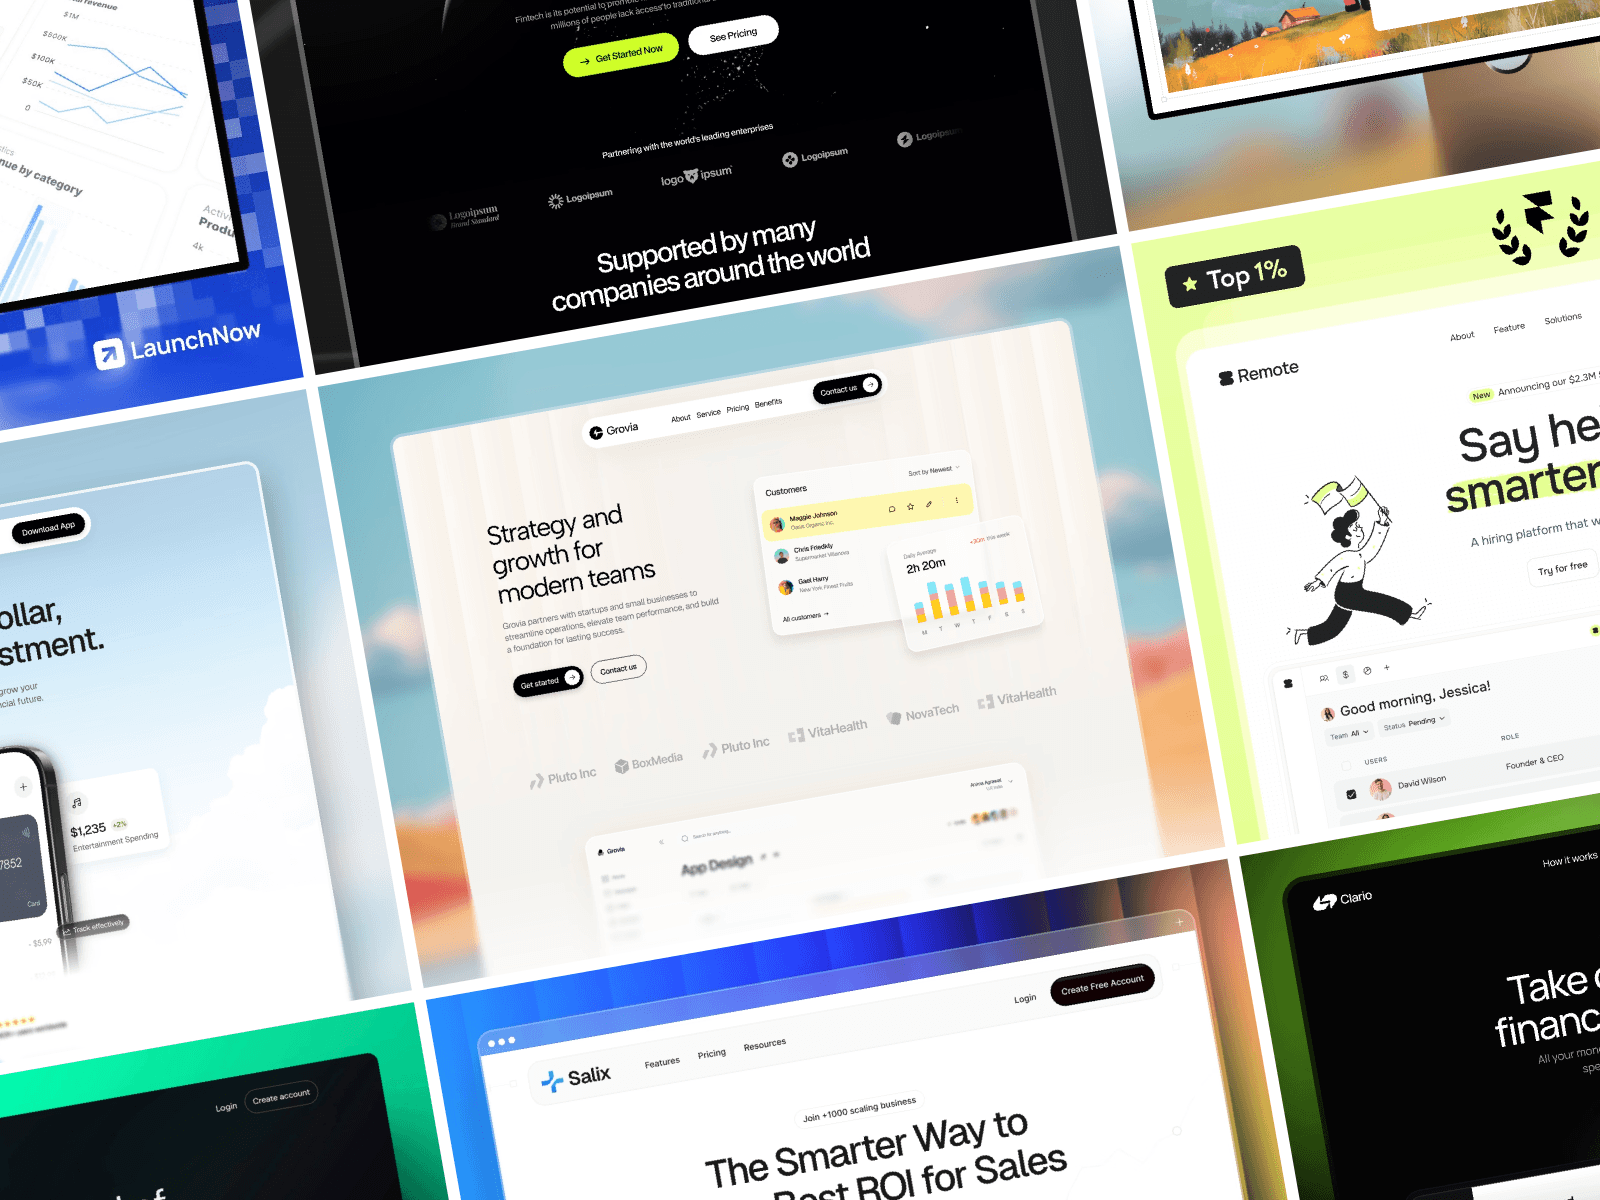
Browse free and premium templates at Lunis Design to find a starting point built for conversion.
What to remember
The Framer AI Agent is powerful, but it's not magic. The best results come from treating it like a skilled assistant who needs clear direction:
Be specific about what you want
Give it context (@ mentions, selected layers, reference images)
Keep tasks focused and contained
Use it for the tedious work where it's fastest
Stay in control with branches and rollback points
The Agent removes friction. Your taste and judgment still drive the result.
Swap in your logo, colors, fonts, and content. No code needed.